Thursday, February 21, 2013

Do You Know Loren? (The Baking Sheet)...Salted Caramel Thumbprint Cookies

Do you like the taste of salted caramel?
Do you know Loren of The Baking Sheet?
Well, if not...you are about to become acquainted with her!
She has shared the most AMAZING salted caramel cookie recipe with us!
And lucky for you...I'm going to point you in the right direction of it!
I made these today...and granted, mine are not as pretty as Loren's...
But they TASTE fabulous!
You have GOT to try these!
They are a nice thick butter cookie, topped with this lovely pool of homemade caramel, and the sea salt on top makes for the perfect blend of sweet and salty!
And the best part of all...they are super easy to make!
Now before you make these, go check out Loren's baking page "The Baking Sheet" on Facebook.  She also has a blog.  She does beautiful work!  She is one of my baking idols.
So go check her out and follow her page.
And then...go try this recipe.
You will NOT be disappointed! 
You can find the recipe here. 
I hope you enjoy it as much as I did!
Be sure to thank Loren for sharing it!
Happy baking!

Saturday, February 2, 2013

Valentine Cookies...And An "AHA" Moment

Ever since I first started dabbling in cookie decorating a couple years ago, royal icing has mystified me.  I look at my "cookie idols" work, and wonder what it is that they do to make their royal icing so perfect.
I get bubbles, air pockets, cracks...too thick, too thin, too fluffy.
And then just when I think I have it down, I'll flood my cookies and wake up the next day to check the drying process, and they are all funky looking!
I've been told over-mixing, humidity, all kinds of things can contribute to bad royal icing experiences.
Another thing that has always troubled me about royal icing, is the taste.
I have tried many recipes, and I've never found one I truly loved.
I've experimented with a variety of flavor extracts as well...vanilla, almond, butter, etc.
But I've never found a really YUMMY royal icing.
I decided it was time to make a change.

Inspired by the lovely Pam over at Cookie Crazy , I decided I would take a leap of faith and try glaze.  If you are not a cookie decorator, you must know, that most cookiers either decorate with glaze OR royal icing, not both.  Most cookiers are LOYAL to an extreme of one or the other.  If their medium is royal icing, they stick with it...if their medium is glaze, they stick with it.  Decorating with the other is foreign ground!
There are a FEW, and ONLY a few, who do both.
Well, I made up a batch of glaze and flooded some cookies.  My husband tasted the glazed cookies and declared them to be SUPERIOR to royal icing.  Well, after I flooded those first glazed cookies, I attempted some detail work (piping some writing and designs).  Let me tell you, this was NOT a success.  For me, glaze is VERY difficult to pipe with for intricate details.
So, I got to thinking.  I loved the taste of glaze.  I loved how it wasn't as "crunchy" as royal icing.  I loved the shine and sheen of glaze.  But I could NOT pipe intricate details with it.  It just wasn't happening for me.
So, I thought, why not use both!
Glaze AND royal icing!
By flooding the cookies with glaze, we'd get the yummy taste and softer texture.
By using royal icing for the detail work, like lettering and small designs, I could get the "control" I needed with a stiff batch of it.
And so, that is what I now do.
I flood with glaze...thus giving me the great taste, softer texture, shine, and sheen.
And most of all glaze gives me the SAME CONSISTENCY EVERY SINGLE TIME!
I don't have to wonder, will there be air bubbles, will it crack...
And then I do my intricate details with royal icing!
By using royal icing JUST for intricate details I only have to make one consistency.
I always use the original stiff icing, and it gives me great control when piping letters, flowers, and any other small detail work.
Since I started doing this, I have been a much happier cookier!
No more worries about flooded royal icing cookies.
Glaze brings a smooth, sheen every single time!
And with piping my detail work in royal icing, I know I'll have the control I need with my pastry bag.
I hope you enjoy these Valentine cookies.
I did these with this method.
Flooded with glaze and piped the details with royal.
I am enjoying combining the two means of icing on all of my cookies now!
It has made me a lot less stressed out!
Haha!
I hope you have a very Happy Valentine's Day!
xoxoxo
Melody

Monday, January 28, 2013

Strawberry Gooey Butter Cookies (Inspired by Cookies & Cups)

 I used to be one to always try new things.
If something sounded good at a restaurant, I was up for trying it!
They I'd be disappointed and wish I'd have stuck with my tried and true favorite meal.
If I found a new recipe, I jumped at it!
But now...I'm more cautious.
Something has to REALLY jump out at me for me to try something new.
 When I saw this recipe for Strawberry Gooey Butter Cookies by "Cookies & Cups", I KNEW I had to try it!
First off, just the name of it reminded me of one of my favorite "old-fashioned" recipes I grew up with that my mom always made..."Gooey Butter Cake".
When I saw the word "strawberry" added to it...I KNEW I had to try it!
 Well...let me tell you...
These cookies are GOOD STUFF!
You've got to try them!
They are like little mini strawberry cakes!
If you don't follow "Cookies & Cups" blog, you need to!
She's great!
You can find the recipe for these amazing cookies on her blog right here.
Now go try these...and come back and tell me if you don't think they're the best little strawberry cookies you ever ate!
And then be sure to thank "Cookies & Cups" for sharing this awesome recipe!

Friday, January 25, 2013

Valentine's Cake Truffles

 I always feel so behind during each of the holidays compared to all of the other bakers.
I see the cakes, cookies, and other treats being posted weeks, even months, in advance.
Me, I'm lucky if I get mine posted BY the holiday itself, or even after in some cases!
But then again...I don't just bake.
I work a full time day job 55+ hours a week in the early childhood field and am taking medical transcription classes...
So maybe that will excuse my tardiness...just a wee bit?
Hehe!
I haven't had a whole lot of orders lately, so I've mostly been baking for fun.
My husband requested some cake truffles.
 What are cake truffles?
Basically they are cake pops without the stick!
Many people refer to them as "cake balls"...but I never liked that word.
(Always thought it sounded rather crass.)
Then one day, my good friend and fellow baker Sandra who's work I admire so much, told me that she referred to them as "cake truffles".
I LIKE IT!
Sounds MUCH more classy!
"Elegant" Sandra says...hehe!
I have to agree.
Cake balls...NO...Cake TRUFFLES...YES!
LOL!
 When making cake pops and cake truffles, I do mine a little different.
I don't use the traditional cake/icing mixture.
I am not a fan of very "rich" sweet desserts.
And the traditional cake pop mixture was just too gooey for me.
So for these, I used my BabyCakes machine.
BabyCakes cake pops and cake truffles are strictly cake...which I love.
For these I used a Funfetti cake batter (white with sprinkles) and then dipped them in white chocolate.  For half of them I added some pink tint to the white chocolate.
Add a few red/pink sprinkles...and...voila!
Valentine cake truffles!
 

Thursday, January 10, 2013

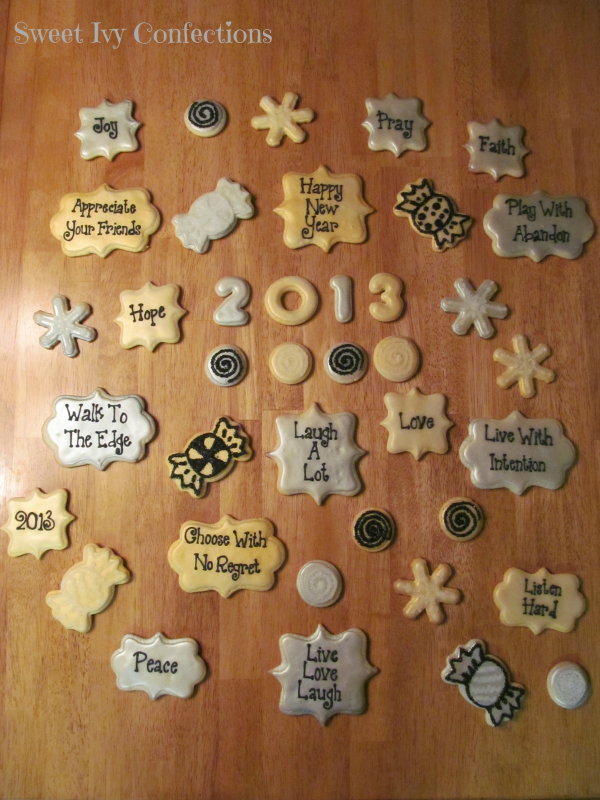
Happy New Year! 2013!

As usual, I am behind schedule "fashionably late".
That sounds much better, hehe!
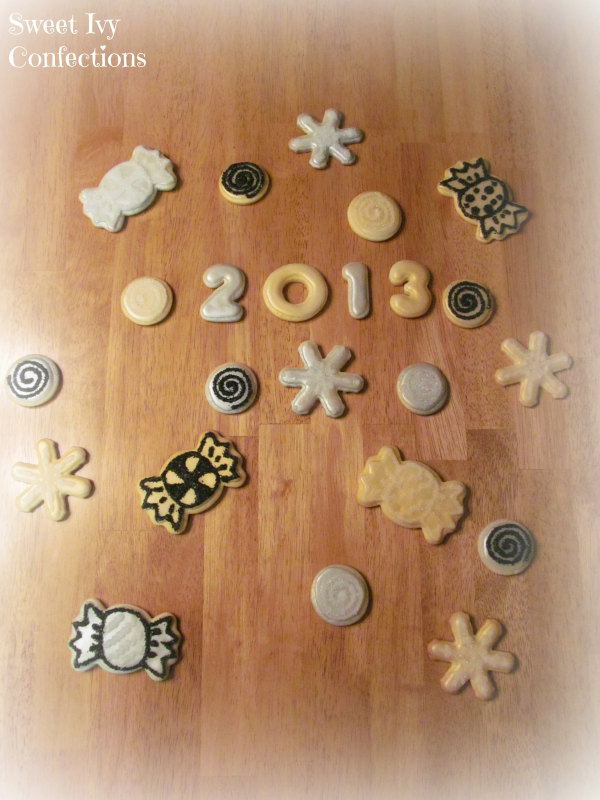
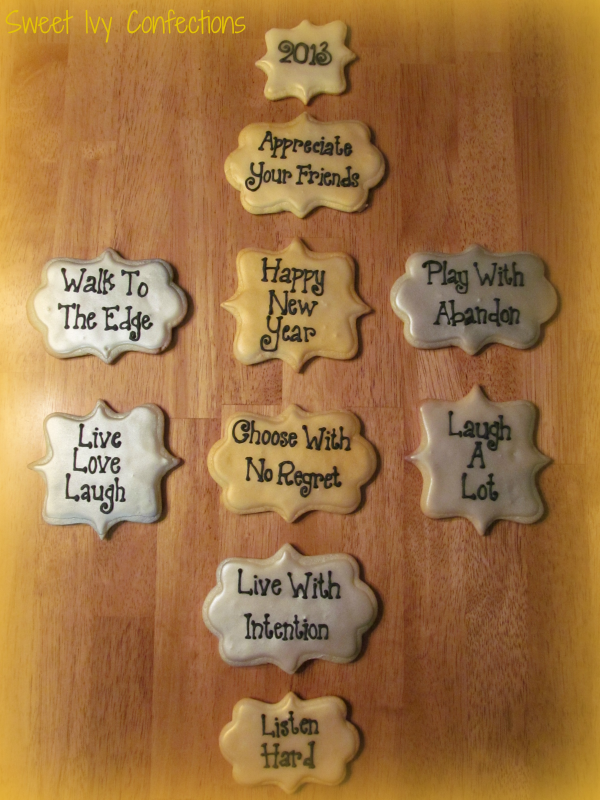
So here are my New Year's cookies I made.
 
I did these for (as luck would have it)...
A "belated" New Year's party!
 
I used my favorite cookie recipe and this time, instead of using royal icing...
I used glaze.
I am beginning, like my husband, to enjoy the flavor of glaze MUCH MORE than royal icing.
I also love the smooth texture that you get EVERY SINGLE TIME with glaze.
With royal icing, it's always a gamble for me.
I always have "some" kind of issue...too thick, too thin, bubbles, cracking, etc.
With glaze, I just get a nice smooth surface, with a lovely sheen, and smooth texture...
EVERY SINGLE TIME!
 
 
I did use royal icing to pipe my designs and lettering though.
I think that is going to be the new way I decorate ALL of my cookies.
Glaze for flooding...royal icing for piping intricate details.
Royal can be made thicker and is perfect for those tricky details.
This was also the first time I tried ColorMist!
I used a gold and a silver.
It came out really well for a first time try!
I was really happy with the pretty metallic shine I got!
 
I was very pleased with this batch of cookies in general.
Everyone at the party was too!
Happy 2013 my friends!


Saturday, January 5, 2013

2012...The Best Of The Best...

 
Can you believe 2012 is over?
Me either!
I thought I'd put together a little collage of a few of my favorite projects I worked on this past year.
Some turned out well...others...not so much...were learning experiences, hehe!
I look forward to another year of baking and decorating.
I hope to continue to grow as a baker/decorator.
I hope to learn new things, challenge myself, try new techniques, and expand my skills.
If I can ever help you out with a dessert, gift, etc...feel free to give me a call, e-mail, or message me!
And don't forget to follow us on Facebook and Twitter!
I wish you a very happy, healthful, successful 2013!
God bless!
Melody


Friday, December 21, 2012

Slice & Bake Coconut Cookies (recipe as promised!)

I have been finding so many new recipes on Pinterest.
Yet I never seem to find the TIME to MAKE the recipes!
Well, being Christmas time...and baking season...
I decided it was time to not only make the traditional "stand-bys" but to try a few new things as well.
This one comes from www.bakingbites.com .
As promised by the original blogger, if you enjoy the taste of coconut, you'll love these!
Many people have a thing about the texture of coconut.
They don't like the texture, but like the flavor.
The great thing about these cookies is that you really don't even get the texture of the coconut.
All you get is the wonderful flavor!
So, without further ado...here is the promised recipe from Baking Bites.
Slice & Bake Coconut Cookies
1 1/2 cups all purpose flour
1 tsp baking powder
1/2 tsp salt
2/3 cup butter, soft
3/4 cup sugar
1 large egg
1 tbsp milk
1/2 tsp vanilla extract
3/4 cup sweetened, shredded coconut
Whisk together flour, paking powder and salt in a small bowl.
In a large bowl, cream together butter and sugar, then add in the egg and vanilla. Beat until light and well combined, then beat in the coconut. With the mixer on low speed, gradually add the flour mixture.
Once all the flour has been mixed in, divide the dough into two parts, shape into logs (2-inches in diameter) and wrap tightly in parchment or wax paper. Freeze for at least 1-2 hours.
Preheat oven to 350F.
Line a baking sheet with parchment paper.
Slice cookies off the frozen logs with a sharp knife, making each cookie no more than 1/4-inch thick. Place on baking sheet and bake for 12-15 minutes, until the edges are just lightly browned.
Transfer to a wire rack to cool.
Makes about 2 dozen.

I hope you enjoy these as much as I did!
Please leave a comment and tell me what you think!
Thanks to Baking Bites for sharing this on your blog!
My family loves it!